.svg)

In our Introduction to Audio Compression, we explored the standard controls: Threshold, Ratio, Attack, and Release. But in the real world of mixing, these controls are only half the story. The other half is Topology, the actual electronic method used to reduce the volume.
Before digital plugins existed, engineers had to rely on physical components to control gain. They used vacuum tubes, light bulbs (electroluminescent panels), diodes, and magnetic fields. Each of these components has distinct physical limitations and "flaws", like slow reaction times, harmonic distortion, or non-linear release curves.
Today, we don't view these as flaws; we view them as "character." This guide explores the four main compressor families, explaining how their unique mechanics shape the tone of your mix. We've also included audio examples so you can hear the difference firsthand.
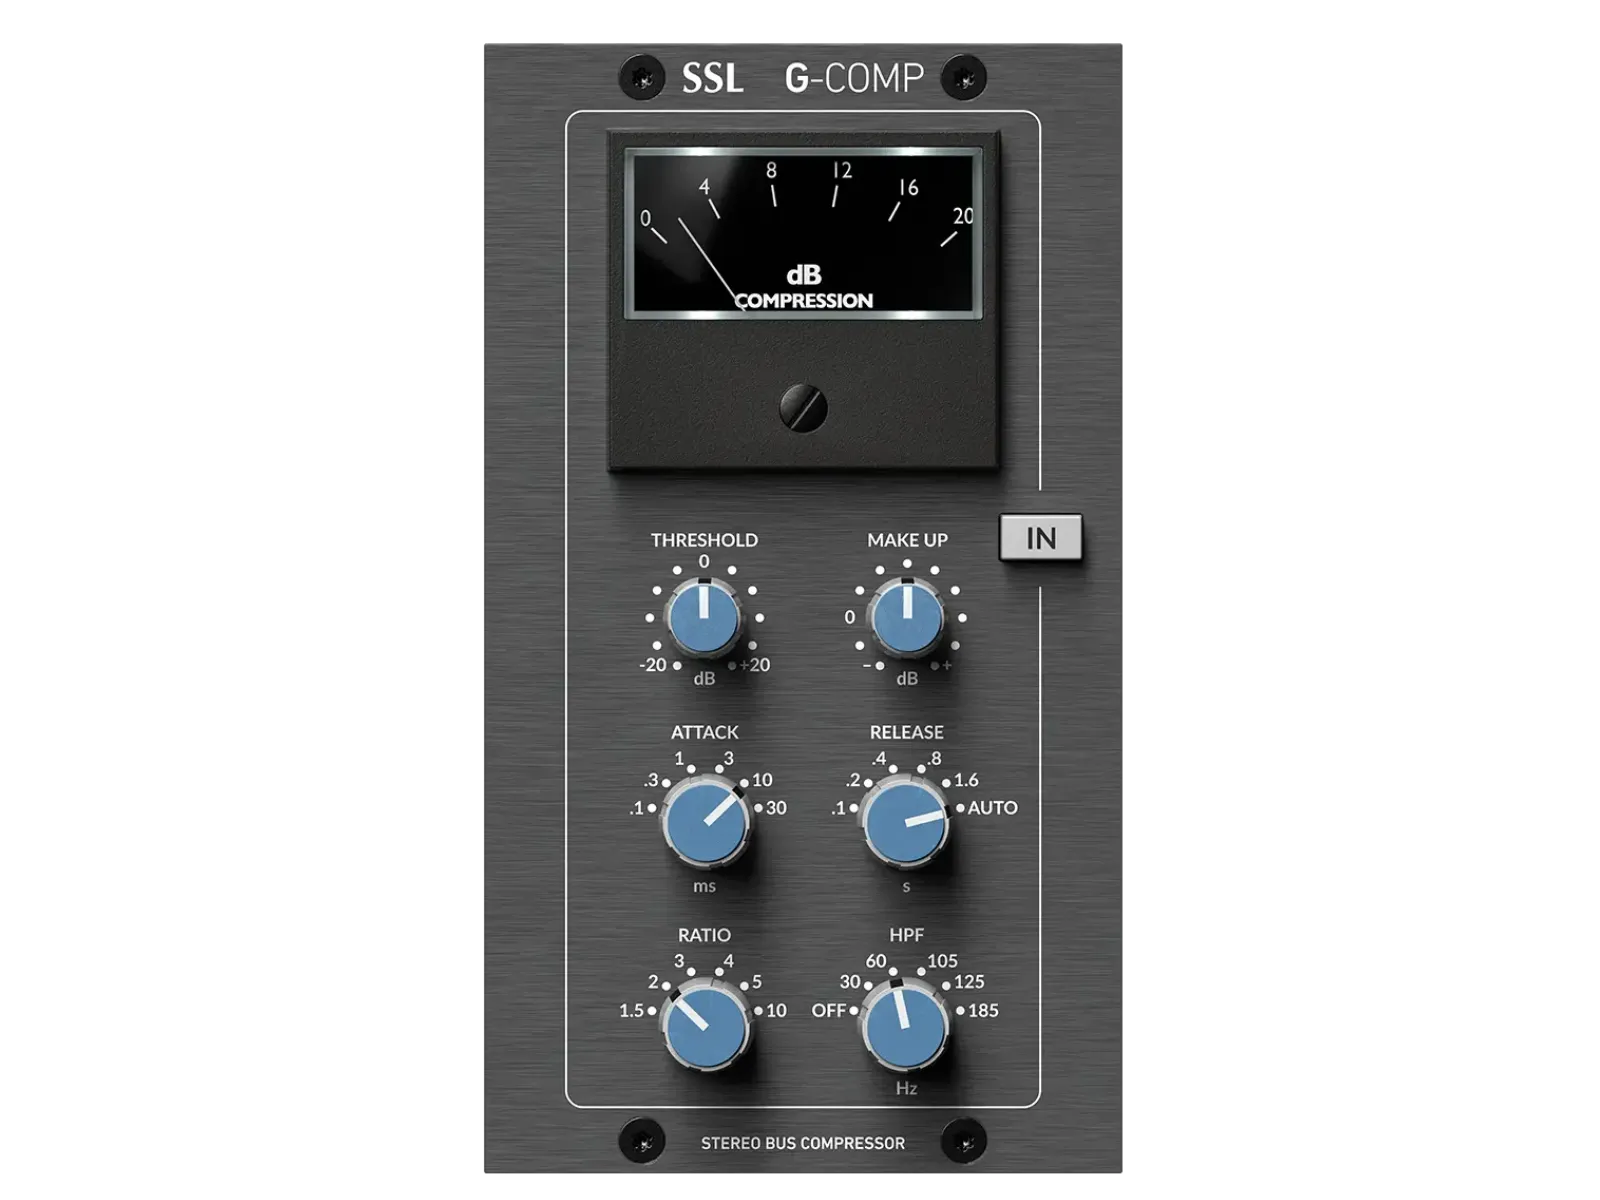
The VCA is the standard for modern compression. If you look at the stock compressor included in your DAW, it is likely modeled after this topology. Unlike older designs that rely on a glowing bulb or a heating tube, the VCA uses a fast, reliable Integrated Circuit (IC) chip.
What It Stands For: Voltage Controlled Amplifier.
How It Works: At the heart of this compressor is a solid-state Integrated Circuit (IC) chip. The key to a VCA is the separation of the level detection from the gain reduction path. When the audio enters the unit, it is split into two copies:
This DC voltage is then sent to the VCA chip to tell it what to do. Because the detector is separate, engineers can tune the attack and release times with mathematical precision. The VCA chip follows these voltage commands instantly. It doesn't have to wait for a light to fade or a tube to cool down. It does exactly what you tell it to do, exactly when you tell it to.
The Sound: Aggressive, punchy, and articulate. Because they can react almost instantly to incoming peaks, VCAs are excellent at controlling transients. They have a "hard" character. They don't smooth over the sound like an Opto, they clamp down on it. If you want a rhythm section to sound "tight", where the kick and snare feel locked into a grid, this is the tool you grab.
Audio Example: VCA on Drums: We used a Slate FG-Grey (SSL Style) on a drum bus. Listen to how the snare drum punches through the mix harder after compression. The VCA tightens the decay of the drums, making the whole kit sound punchier and more aggressive.
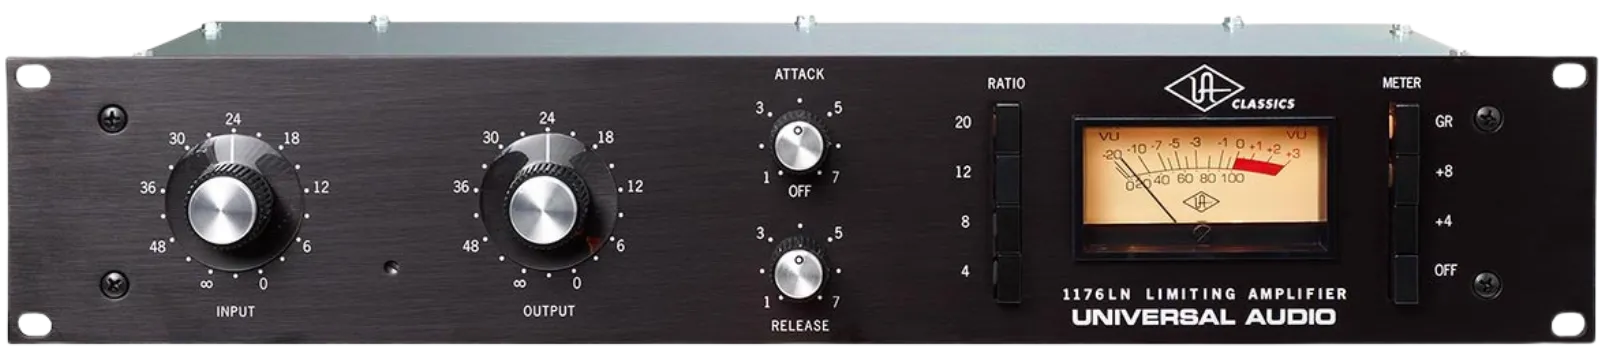
If the VCA is a transparent tool, the FET is a musical instrument. It has a distinct personality, it colors the sound, and it's famous for adding aggression and excitement to a track. When engineers want a vocal to sound like it’s fighting its way out of the speakers, this is usually what they reach for.
What It Stands For: Field Effect Transistor.
How It Works: This design uses a transistor (specifically a JFET) to control the volume. Think of the transistor as a voltage-controlled valve.
While other compressors might take milliseconds to react, a FET can clamp down on a signal almost instantaneously. It can effectively put a brick wall in front of your audio, ensuring no transient escapes.
But there is a quirk to the workflow that trips up almost everyone the first time they use an 1176-style FET. There is no threshold knob.
The Sound: Fast, gritty, and "in-your-face." Because the transistor reacts so quickly, it can completely flatten the initial attack of a sound, which brings up the sustain and the room tone. This makes drums sound explosive and vocals feel urgent. It is rarely "clean", it adds a layer of harmonic distortion that helps tracks cut through a dense mix.
> Pro Tip: On classic 1176-style plugins, the Attack and Release knobs work backward, turning them to the right (clockwise) makes them FASTER, not slower. Don't get caught out!
Audio Example: FET on Electric Guitar: We took a guitar signal directly from a modeler. Listen to how the Slate FG-116 Blue clamps down on the sharp pick attacks, allowing the quiet "ghost notes" and scratches to jump up in volume. It turns a polite tone into a driving, percussive rhythm track.
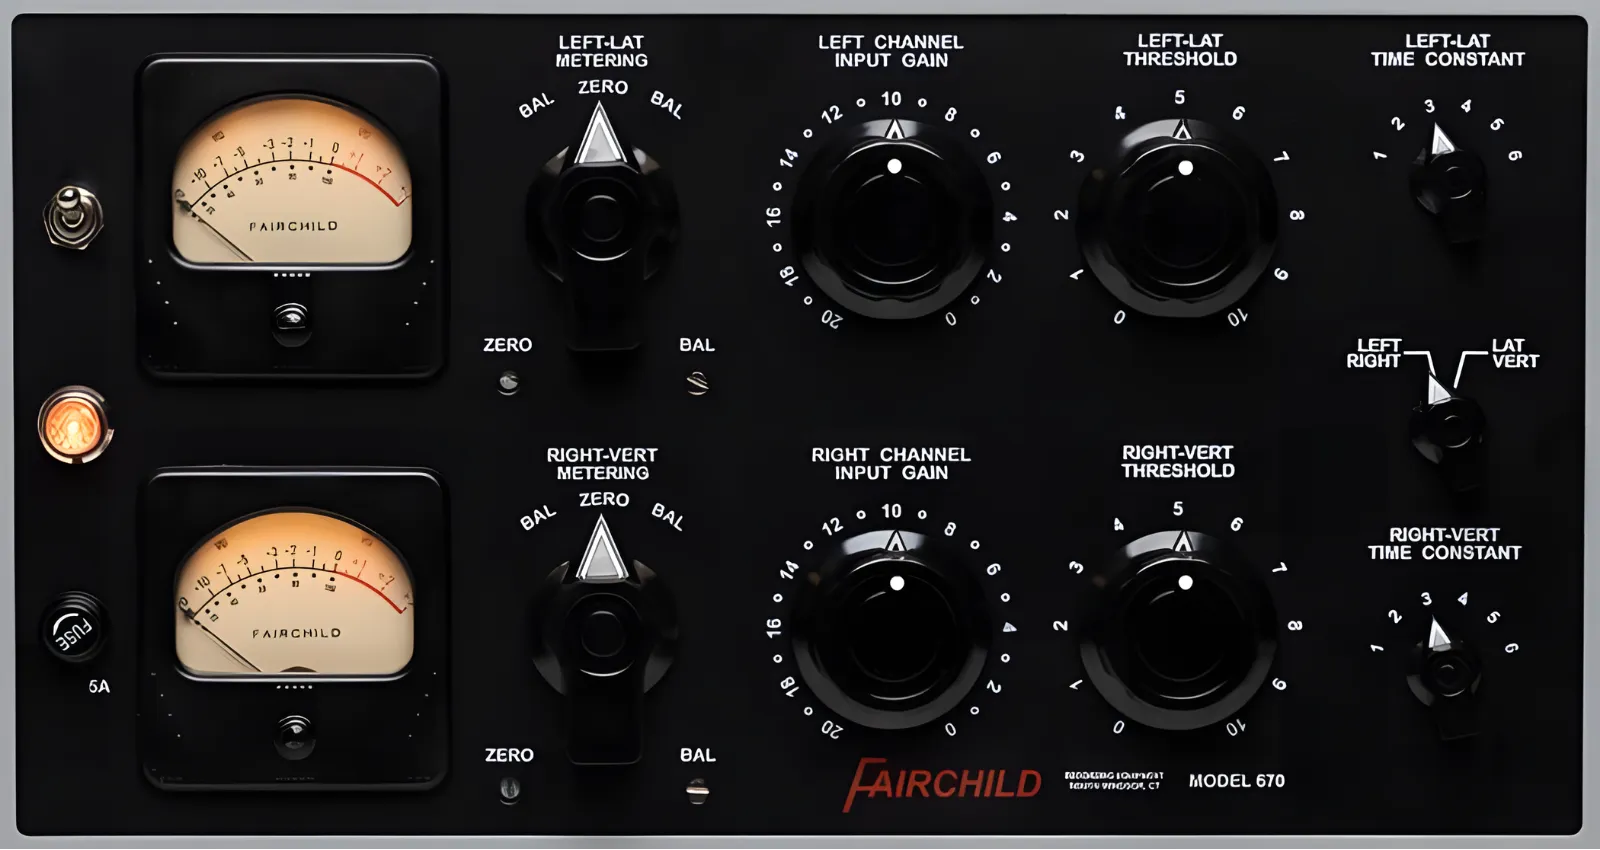
This is the grandfather of compression. Before we had transistors or chips, we had vacuum tubes. While most modern gear uses tubes just to add "warmth" or make things louder, the Vari-Mu is unique because the tube itself is doing the heavy lifting of compression. It’s widely considered the "holy grail" for making a mix sound expensive and cohesive.
What It Stands For: Variable-Mu (where "Mu" (μ) is a Greek letter which in an engineering context is shorthand for "gain").
How It Works: To really get this, we have to zoom inside the glass bottle of a vacuum tube (specifically a Triode).
This is where the compression happens. We apply a negative "Control Voltage" to this Grid. This is called Bias. Because electrons are negative, and the Grid is now negative, the Grid acts like a repulsive force field. It pushes the electrons back.
In a Vari-Mu compressor, as your music gets louder, the circuit automatically cranks up that negative Bias voltage on the grid, choking off the flow of electrons and turning the volume down.
The Magic "Soft Knee": The beauty of this system is that it’s imperfect. The tube doesn't clamp down linearly.
The Sound: Creamy, dense, and "glued." Because the tube is constantly shifting its bias to handle the volume, it introduces a specific type of harmonic distortion that fills in the gaps between instruments. It makes a mix feel like a single, cohesive record rather than a collection of separate tracks. It adds a "3D" weight to the low-mids that digital EQs struggle to replicate.
Audio Example: Vari-Mu on Piano: We recorded a grand piano with 6 different microphones (Close, Room, Hammers). Without compression, the image felt disconnected. Listen to how the Slate FG-Mu (Fairchild emulation) "glues" the room mics and close mics together, creating a single, cohesive instrument with a rich, blooming sustain.
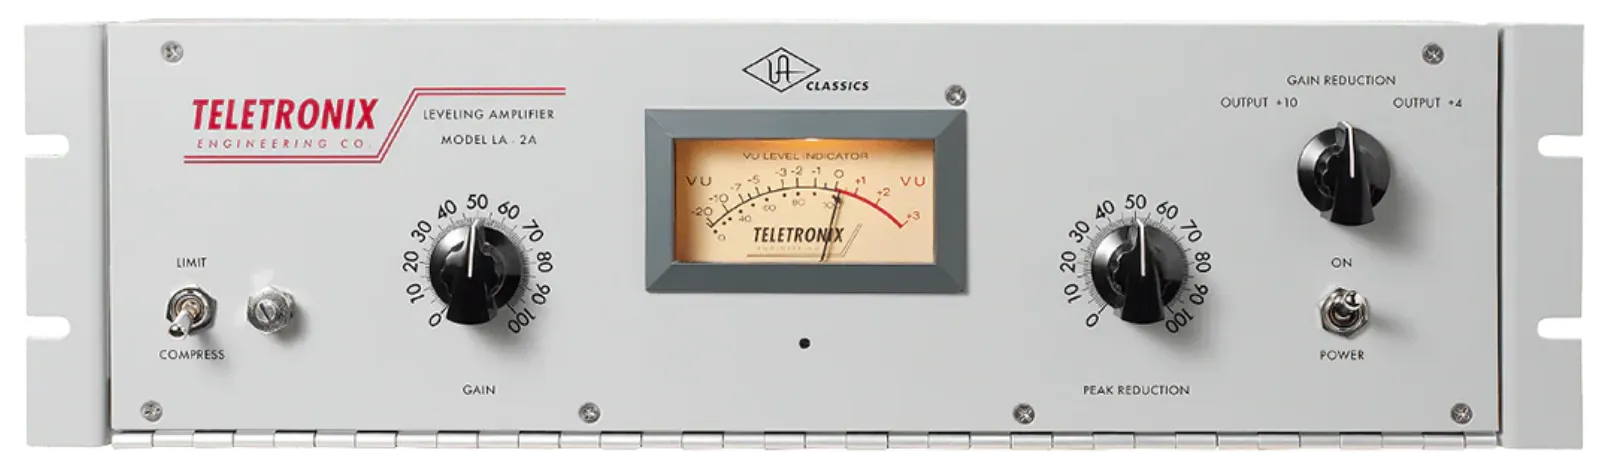
Optical compressors are legendary for being "musical", which is usually code for "it’s hard to make them sound bad."
What It Stands For: Opto short for optical, It uses light to control electricity.
How It Works: The heart of an Opto compressor is a component called an Optical Cell. Inside this little metal can, completely sealed off from the outside world, are two things looking at each other:
The "Magic" Lag (EL Panels vs. LEDs): This is where the physics gets cool. The light source has to physically turn on and off.
Transducer Non-Linearity: Here is a detail often overlooked: converting electricity into light is never a perfectly linear process. The light source (especially vintage EL panels) reacts differently depending on the frequency of the incoming signal. It might glow instantly brighter for a high-frequency snare crack but react sluggishly to a low-frequency bass rumble, even if they are the same volume.
The Memory Effect: The photo-resistor also has a "memory." If you hit it with a quick snare drum, it recovers fast. But if it’s been staring at a bright light for a while (like a long sustained bass note), it becomes "dazzled" and takes much longer to recover. This is called Hysteresis. It means the release time is program dependent. It automatically "rides the fader" differently depending on whether you are singing short staccato words or long held notes.
The Sound: Thick, smooth, and warm. Because of that physical lag we just talked about, an Opto literally cannot grab a fast transient. The initial "pick" of a guitar or the "crack" of a snare slips through before the light has time to turn on. This preserves the life and attack of the sound while heavily compressing the body and sustain. It creates a sound that is controlled but never feels "squashed."
Audio Example: Opto on Bass: Hear how the Opto compressor transforms the bass. The UAD LA-2A isn't trying to catch every peak; instead, It ignores the sharp pluck of the strings (keeping the definition) but grabs the sustained notes and levels them out, making the bass line feel like a solid, consistent foundation.
If the VCA is a scalpel, the Diode Bridge is a sledgehammer. Famous for the "British Console Sound" (specifically Neve), these compressors are not about being polite. They are about vibe, weight, and harmonic richness. When you want a track to sound "thick" and "expensive," this is often the secret weapon.
How It Works: This topology relies on Diodes. In basic electronics, a diode is a one-way valve, it lets electricity flow forward but blocks it from going backward. However, engineers discovered a clever trick: if you arrange four diodes in a specific "bridge" loop and apply a DC control voltage (Bias) to them, you can force them to act as variable resistors.
The "Flaw" That Creates the Sound: There is a catch. Diodes distort very easily. To prevent the audio from turning into a fuzzy mess, the signal has to be attenuated before it enters the diode bridge. But since we turned it down, we have to amplify it back up significantly at the output.
The Result: You are relying heavily on amplifiers to boost the signal back up. This adds noise, but more importantly, it adds harmonic saturation. The circuit is inherently "fighting" to keep the signal clean, and that struggle creates a dense, creamy texture that VCA compressors just can't replicate.
The Sound: Thick, harmonic, and heavy. Diode bridges are technically capable of fast attack times, but they rarely feel fast. Because of the heavy harmonic distortion and the complex release curves, they tend to "glue" things together with a distinct crunch. It’s a sound that feels "heavy", like it adds physical weight to the drums.
Audio Example: Diode Bridge on Parallel Drums: We used the Lindell 254E (Neve style) on the drum bus. This is about "thickness." Listen to how the snare sounds fatter and the cymbals feel smoother and darker. It gives the drums a classic 1970s rock weight.

PWM is the "odd one out" in the compressor family. It’s arguably the smartest way to control volume, though it’s much rarer than the others. While other compressors use physical resistance to hold back the audio, PWM uses time.
How It Works: Imagine a light switch in your room. If you want to dim the lights, you have two options:
This is exactly what a PWM compressor does to your audio. It contains a high-speed switch that chops the audio signal into tiny slices.
The Sound: Clean, fast, and transparent. Because there are no heating tubes or glowing panels in the gain path, just a switch, PWM compressors are incredibly linear. They don't suffer from the "lag" of an Opto or the distortion of a FET. They offer precise control without coloring the tone (unless the unit uses transformers for flavor).
Audio Example: PWM on Fingerpicked Acoustic Guitar: In this example, we used a Tone Empire Pythor (modeled after the Pye 4060), because units like the Pye were built in the 60s, they pass that clean signal through colorful transformers. Listen to how it catches the loud thumb plucks without crushing the delicate finger noises. It adds a "shimmering" vintage color while keeping the dynamics feeling open and natural.